
as i was saying this is where we left off. i needed to get more silicone rubber, HSII (high strength molding rubber) is what im using. you can get it online at different sites, just surf around a little. google "molding climbing holds" or similar things and you should fine what your looking for. there are even some suppliers that have little molding tutorials. some might say they are better than mine ...but those people are ungrateful asses! i dont see them putting you on the path! (i can see this post may be full of digression, and sarcasm... sorry?)
back to business. molding rubber comes in a tub, it's generally a white very viscus putty, then you also get a catalyst in a separate bottle. the catalyst will be a different color based on whatever rubber youve bought, sometimes clear, or blue. the one i bought is obviously pink. the good thing about the rubber is it will perfectly bond with a previously poured layer. that being said this is based on my experience. i have yet to have a problem, maybe one of you science types may know different. once you mix the two parts together, make sure theyre fully mixed, just pour it slowly and evenly over your original foam designs. i like to pour from a little distance above the mold box that way it helps to get air bubbles out of the rubber. you wont be able to completely eliminate them without a vacuum chamber but i havent felt it is necessary to get one. if you pour slow and even and dont stir a bunch of bubbles into the rubber when you mix it you shouldnt ever have a problem. once you mix the two parts you have about 30min to pours them. after that you have roughly 6 to 24 hours depending on what get. the stuff i use takes 18 hours so i generally pour in the evening and let is set up over night.

so the next morning this is what you get. all you have to do is break down the box. i generally try not to damage the pieces so i can reuse it all. the bottom section will be a little hard to pull off but dont worry if you waited the full curing time you cant damage anything, give it a tug! once you have the box off its time to clean the mold.


the foam will not ...ever.. come out in one piece. dont try to cut the foam out or you will wreck your mold. you want to peal back the rubber and break the foam. it is best to try and get the foam out in big pieces. if you can pull it out somewhat cleanly you can prevent leaving behind foam dust in the surface of your mold. as you can see in the next picture some foam gets left behind, this will happen no matter what. but you can go to some work to minimize it. oddly enough i found the perfect tool to clean the foam is one of the starbucks stirring stick/lid plugs.

if you look at the one end you can use the little end for cleaning foam out of fine detailed areas. the plastic is soft and doesnt destroy the rubber mold and more importantly that awesome texture! the other end you can take some fine sand paper to it... they have a sharp edge from when they are molded. once thats softened the big end can be used to work on bigger areas. when the dust inside the mold starts to drive you crazy go rinse it out in the sink. you will repeat this process a few times. next get that xacto knife you have been dying to wield, and GENTLY trim away the thin imperfections at the lip. the rubber will have crept in under the foam, so you will want to trim it back so it opens the mold a little. do it cleanly so the mold doesnt tear when your using it later. as you can see by the last pic you can ever fully remove the foam, but the first hold you pour will finish cleaning the mold. but dont worry youll still get a perfectly useful first hold, ill explain later.


Now gather up your supplies, you may need/will need to go to the craft store for some of these items, so make a shopping list and grab the keys!
what do we see in this picture, cause you need or will likely want all of it. first the no brainer... you need to get some hard casting resin, polyurethane or whatever you plan to use. again hit the internet, the stuff is out there. you can also get from the same places an assortment dyes, nobody wants all their holds to be a boring tan color or clear! if theres one thing the 1950's taught us is that america loves COLOR! that and McDonald's... uh,anyway, get some large popsicle sticks, paper towels for clean up and any device you can use as a timer... obviously a watch will do but a kitchen timer with that celebratory "ding" at the end is more fun! last of all go to the hardware store and get yourself some general purpose tubs. they should be in the painting section look at the picture. i suggest you get a couple of each size...
when you have everything together your ready to get started. oh one last set of suggestions, first set up somewhere with open air ventilation, next set up on a table you dont mind destroying (spills can be a B!), lastly take some painters drop plastic or cellophane and cover the work surface. that way if you do spill it will be easier to clean up. that said, spill enough and the exothermic reaction of the resin curing will burn through the plastic.

on with the hold making... first measure out equal parts of resin (or follow the directions that came with your stuff). in this case, all the directions will be specific to the stuff im using but general in process for just about everything else. so you now have to equal parts, one clear and one not, measured out in your two smaller tubs. (clear = part A, not clear =part B) if you want to color the holds your gonna pour now is the time. i suggests that you color your first hold gray/black, or the same color as the foam you carved your design out of. because when you pour the resin it will grab and pull out those last bits of foam you werent able to get. when this happens the hold will retain the foam....probably forever? and if they are the same color you wont notice or care. so i dip the end of my stick into the dye and and get just a little. keep in mind a little can go a long way with this stuff!
so pour part A into a larger tub (make sure this one is big enough to hold the totals volumes of part A&B), and stir the dye into part A. keep stirring until it is completely mixed throughout! if you dont will make seams in your hold and it will break! also if you use to much dye it will make the hold weak and it will break ...broken holds equals wasted money, do what ya want.


Alright your ready to go for it. heres the deal, once you pour part B into part A you have about 30 seconds of working time. after that the reaction cascades to a point where the resin hardens, and then your screwed. so you have to be ready to work quick. have your molds out and ready to pour. have an extra stand-by mold to pour any extra left-over resin into. i get my footholds this way.
** side bar: if you dont want to risk waste you can pre-measure the volume of your molds using water. just measure out how much water you use as you fill your molds. once you know this, divide the total volume by two. this is the volume you will need to measure out of part A & part B.
okay you have your molds out and ready, you have the dye well mixed in part A waiting in the BIG tub, you have part B measure out, you have a timer close by, and your itching to make your first hold! well, pour part B in and start stirring go quick but try not to slosh it on yourself. count to 15 in your head, run the stirring stick against the sides of the container, get this as evenly mixed as you possibly can!! if you dont, it wont set up right! after you think you got it carefully pour your mix into the molds. try to pour quick but cleanly into one spot so it doesnt make bubbles. once you have poured it all out start your count down. the demold time is usually about 5 min. this can be affected by several things, such as ambient temperature or the specific product you use. but you can also tell by looking at it. check these out ...liquid to SOLID!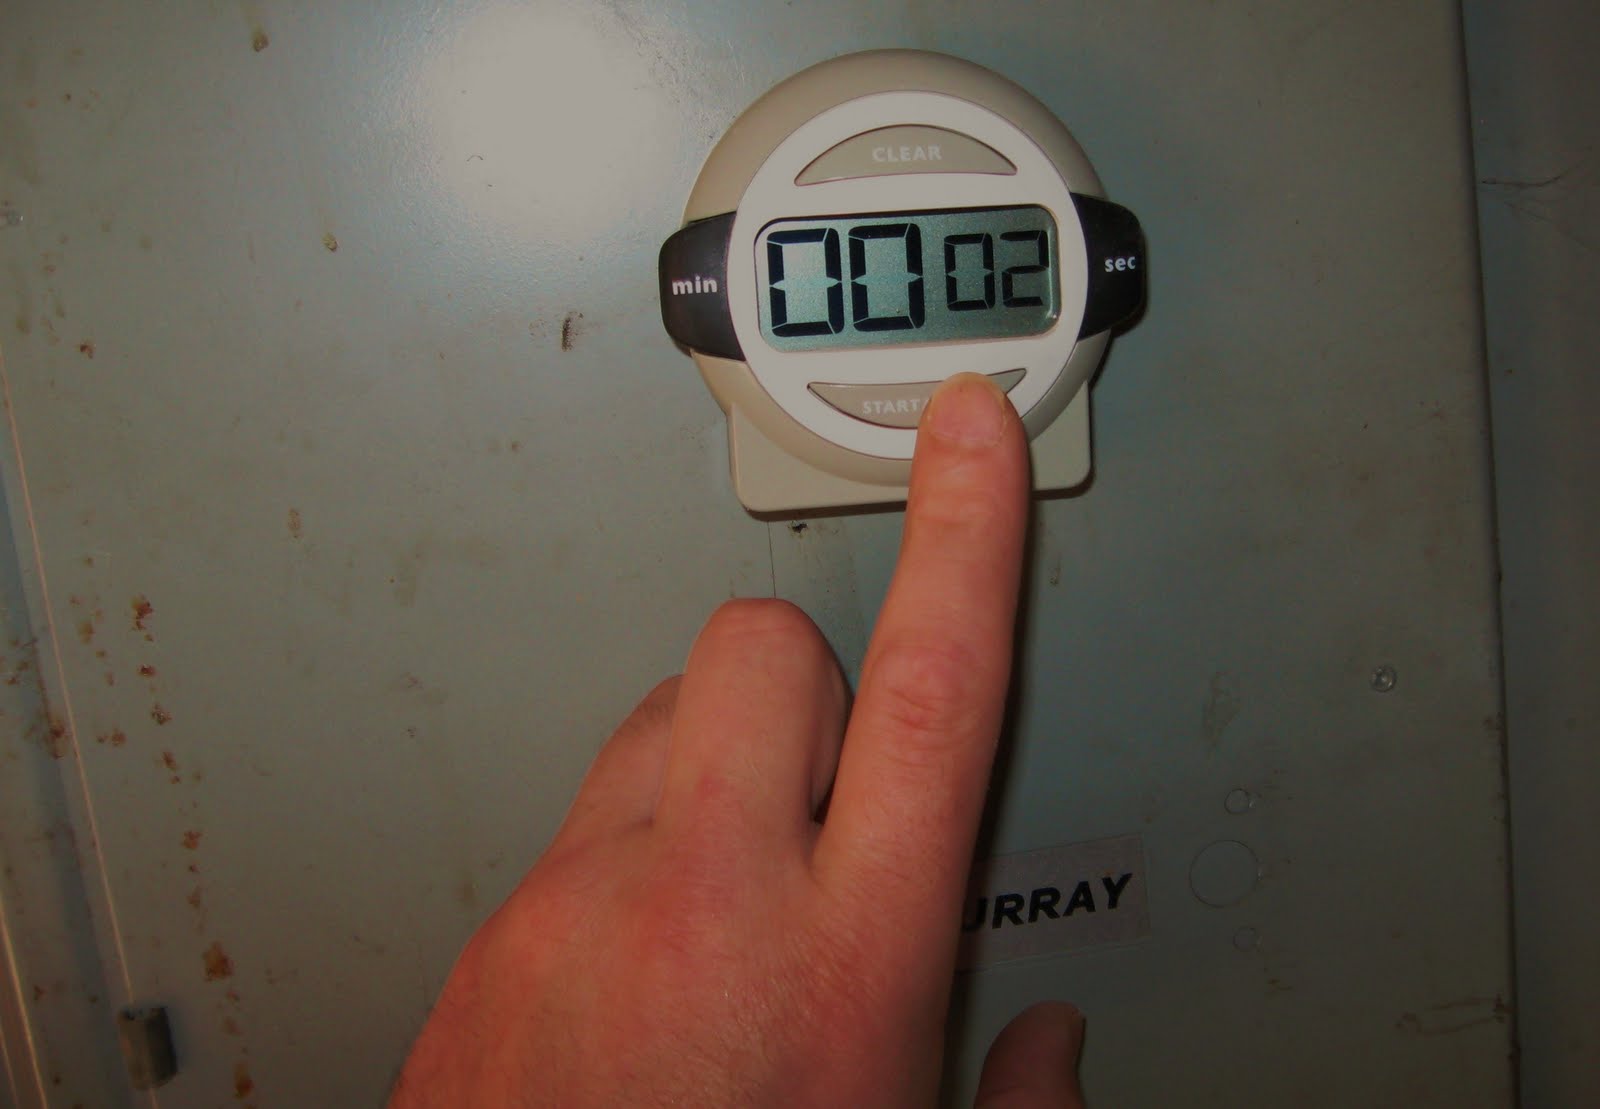
(where is it? check out: Get a Grip, part 2)
Nice signiture...these pictures kind of make it look like you're running meth lab. May I join?
ReplyDeleteNice job man. Pretty excited for this shit to be used on your wall. PARTY!!!!!!!!!! Drunkin climbing You know Climbingmakesmehard will be there
ReplyDeletePlease come to the gym with us soon. I need you :(
ReplyDelete