~~~~~~~~~~~~~~~~~~~~~~~~~~~~~~~~~~~~~~~~~~~~~~~~~~~~~~~~~~~~~~~

the whole point of this blog is to help others with all the questions they have about setting up a similar home climbing gym, and ramble about a variety of climbing related subjects.
There is a variety of subjects... most involving rock climbing, written about on this blog. MAKING VOLUMES OR CLIMBING HOLDS, is probably one of the more popular subjects. just check the labels links or search bar to find your fancy.
of course if you want to go back and start from the beggining, please do! to that end, if there are any question let me know ... i encourage you to add comments for others to read or if you want to get me directly you can email me at treadwallproject@hotmail.com
IF THIS IS YOUR FIRST TIME, READ THE MUST READ LIST.... oh!, ...and you have to fight!

Friday, February 25, 2011

Volume Build: Screw & Glue (part-3)

in this post your gonna see a shit ton of pictures. i kept them small so the post wont be ungodly long... but you should be able to click the image and get a better look. so, here we go... the alejandro method to building volumes...


first gather up your supplies. in the first picture you will see just about all the tools i use. but it helps to have a belt sander as well. if you dont have one i suggest you use only 90 and 45 degree angles. the second picture shows the diamond volume i built a while ago. the goal is for this new volume was to allow multiple volumes to be added/mounted on to it.... im so creative...


so i cut out my two main face panels. this will be the first step of almost every build. next i bevelled some 2x4's to about a 45 degree angle. now josh just builds his with as many screws as he has lying on the floor of his garage but i like to be slightly more anal with my builds. i use a combination of screws and wood glue. gorrilla glue seems to work really well. just avoid getting it all over your clothes. i use a good bead then the screws pull it together. pre-drill all your holes and pre-start the screws so it goes quick once the glue is on.


as you can see by many of my pictures i like to trim of extra wood after its semi in place. not the most crafty way to do it.. but it works for me. im not a super carpenter, thats why i was considering going into the messiah business....kidding... but seriously this is just the way it has worked for me. given that i like to subtract slowly so i get a nice finished product.


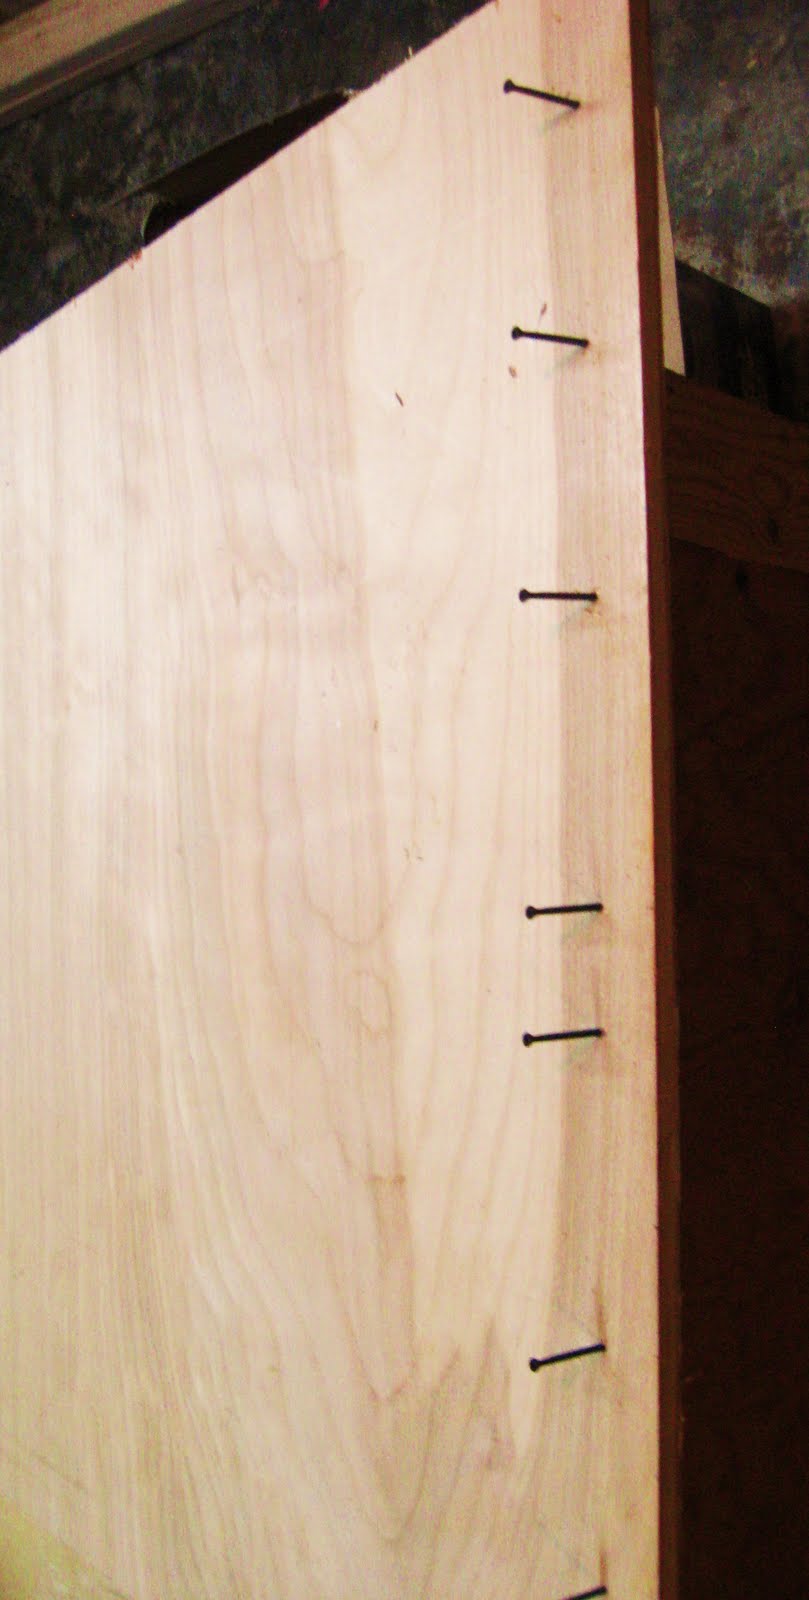
the glue tends run out by the way... so have a paper towel ready. the next shot illustrates my point. at this point i have added the additional framing for the side panels. and if you look at the smaller face panel there is extensive framing with 2x4's. this is because i intend to make this panel removable... youll see. then i run the side across a belt sander... forever. until it has the right angle and flat surface for mounting the sides onto. overall this will make the volumes stronger because i can make the fit tighter and add glue. when im done with the volume i will also go back and add extra glue in all the corners... cant have my heavy ass busting a seam!


to make pattern for cutting out the sides i like to lay the volume down on the plywood. i cut from and trace the exact shape i need. it seems to help me not screw up the measurements and ... well kids tracing is faster. in the past for harder shapes i have even covered the place with paper to make an exact pattern of the panel i need. its called tracing kids, ...sure you didnt draw blunt man and chronic but what you did was add depth and shading... wait what? regardless the panels are added on the same as before with lots of gluing and screws. now i know it looks funny with the bracing sticking out... but well cut those off soon.


so there it is, the basic box is done all the panels are more or less as they need to be.


so i guess once you have it all together the only thing left to do is... take it apart. i already said i intend to have a removable lid. this is so the volume can be mounted from the front of the wall by a single person. i will go into that more... but for now lets make the lid. i pulled all the screws and removed the lid panel i realized my arm was to big to fit between the 2x4's... so i cut a little diamond shaped slot to give me access.


with the lid off i started working on the mounting braces. they are beveled at the ends to fit flush with the side panels. i wanted the "top" board to sit high so i made an additional bevel lengthwise to allow it to snug up tighter.


of course once i did this i realize the place where i wanted my t-nuts to go would get covered... so i placed them before mounting the brace. it will be a little problematic when setting on this row of t-nuts... and it will make it really difficult to replace the t-nuts... but what can ya do. i needed to place them there to make the lid strong and removable. the second brace went in without a hitch. i just needed to leave enough room to sneak the mounting bolts in. the holes in the braces are made to be exactly 1ft x 1ft square. i make my standard wall spacing 6x6 inches so it will fit nicely. but if i decide to place it in an off angle i can drill new t-nuts in the wall. it mounted nicely on joshes wall as you saw in the previous post. the only thing left is the finishing "pretty" work to do.


The way i figure it, only about four bolts need to be used for the lid, and those can be mounted with holds... so its a win-win. "she may not look like much kid, buts she's got it where it counts"

check out the next post where i pretty the shield up and get it ready for use!

Tuesday, February 15, 2011

Volume Build: Preview (part-2)


so i spent the last two days working on a new volume. i named it the shield kinda as a joke. but it turns out to be pretty aptly named.


josh says that if he had to carry it into battle though he would need a slave for the march to get there. i have no idea... i guys i made it heavy or something.


so as i promised i have taken lots of picture for my up coming how to build a volume posts for this model... but i got it structurally done and need to run a rough test, so i trucked it over to club dreher.
the thing feels like a monster detaching flake on the under the roof. only not scary like its gonna power drive you in the ground.
josh liked it so.... i took it back. now i just need to have more time off from work so i can do all the finishing work that is required for my level of anality.
stay tuned for all the building instructions and the next volume i have in mind!

Sunday, February 13, 2011

Volume Build: DESIGN (part-1)

well i promised i would be giving you a series on building volumes start to finish... so here we go with part one! i spent a little time working on concepts for a couple of new volumes today. as with any project you should have goals in mind before you start to work on it. in my case the process began with just staring at the volumes i had already built that are hanging around my living room. so... goal number one: make larger volumes that i can attach my current volumes to. goal number two: with the exception of the widget volume i made... my volumes are like most volumes, huge slopers with no in-cuts. well i made a volume at josh's awhile back with a definite jug sized in-cut. so, now im gonna try to perfect the idea a little. goal number three: incorporate josh's internal bolt/attachment method into my designs....we'll see about that one.

so here is my first new design. i came up with it in the car on the way to the climbing gym today. it features one trapezoidal in-cut panel. it is a variation on the standard three sided tetrahedron. the thin end is loped off to avoid the unusable arrow point where no T-nuts can fit. the wide has been split into two angled panels. the size i hope to make is roughly 40 inches long and it should sit around 15 inches tall. not HUGE but large overall than any other volumes ive made. so here it is:

and if the picture arent artful enough for ya...there's this:


the next design i have had kicking around in the back of my brain for a bit now, it's fairly simple... the idea comes from those detaching flakes that always seem so scary to boulder on. you know the one the size of your chest that you imagine tearing off at the worst time and crushing you ribs! it feature four sides and is a variation on the standard ramp shaped volume. my design pulls the sides in to form two big in-cuts. in the picture the "back" is the view that you could only see when the volume isnt mounted to the wall. overall size will be around 34 inches long, 34 inches wide and 8-10 inches tall... so here he is:


....this one probably needs the extra video to show it off:


so thus concludes part one... i imagine this will take a few days work considering i want to heavily document it for all y'all. give that plus work, and josh's wedding i expect this series will take a week or so to finish. i hope to do it in several post with the last one debuting them at club dreher some night. again thanks for reading and i welcome comments and questions... you are all my baby birds, i will feed you! ...did that sound as creepy as i was hoping for?!

SHAMELESS!!!!! ah ha ha ahaha haa ha hah aah ha!


Princess Leah on Star Wars, Eldorado Canyon, Colorado
there's nothing to say other than... this must be shared with the world!

Saturday, February 12, 2011

hungry hungry Hangboard...

one good way to start your hangboard training tradition is with a good old fashion assessment. take all the hold positions and gauge your strength. in general, 10 or more pull-ups is great as is holding any hold longer than 12 seconds. when you get your max values for each hold and exercise take roughly 80% of that and apply it to your training routine. if you are in that greater than 10 pulls or 12 sec range for exercises, consider other options such as training on a more difficulty hold or adding weight with a vest or harness. here is an example of my test form for my metolius pure force board. oh and max pull refers to the most wieght you can add and complete one full pull-up. any other questions or comments... please share with us!

Wednesday, February 9, 2011

Feel... The... hang?

i cant decide if i hate the title of this post...moving on... so you bought that hangboard casue everyone told you what an awesome training tool it was. that was 3 years ago. you hung the hangboard in in your house or garage. that was 6 months after you got it. three weeks ago you had friends over for beer and to watch climbing movies. you pointed out the hangboard...or they discovered it on their own. you do a couple of pull-ups as you tell your guest how cool it is. their jealous that you have one. but inside you hide the secrete that you havent touch it more than ten times since you got it. the details may vary but its still your story, and the story of so many other people.


so why are hangboards so popular and yet so useless for many people? i think its a bit of motivation and a bit of not knowing how to use it. we start out with good intentions and excitement for training. often when we people have no idea how to train they just start running for the horizon without direction. eventually you run out of motivation for horizon chasing and your tools for training begin to gather dust.

in this post im gonna try to inspire you to start using that hangboard on days you have only 30min to spare. keep in mind this is only what works for me. also, there are several websites that do a much better job of this than me, and you will see i've adopted much from them.

here are a few:

Dave MacLeod: http://www.davemacleod.blogspot.com/
Multiple Authors: http://info.rockrun.com/
Eric Horst: http://www.trainingforclimbing.com/
Metolius: http://www.metoliusclimbing.com/how-to-guides.html

so you have 30min? exactly... heres a workout:

30 min Workout
~5 min Aerobic Warm-up. i do a treadmill routine of 2 min walk / 2 min jog / 1 min walk. during my walking i do several stretch for my hands, arms and shoulders. if you dont have a treadmill anything that gets the blood pumping will do... hell you can do jumping jacks if nothing else. (25 min remaining)

~10 min hangboard routine (warm-up set). this set is devised to get the arms ready to do a harder workout. this routine lets me feel how strong i am and gauge whether or not i have an festering injury. you may choose to use my routine or adjust it to better fit your level of conditioning. (15 min remaining)

~15 min Heat Routine. heats have different make ups depending on how they are devised. in my case i run 8 (1 min) heats with 7 (1 min) rest periods between them. (DONE)


1 hour Workout

~5min Stretching routine. (i will have an upcoming post on stretching)
~10 min Aerobic Warm-up. (2min walk / 5min run / 3min walk)
~10 min Hangboard set. (warm up routine)
~15 min Heat Routine. (same as above)
~10 min hangboard set. (intermediate or advance)
~10 min treadmill routine. This set is done with the addition of 10 lbs dumbbells.
2 min walk
1 min run
1 min walk & bicep curls
1 min run
1 min walk & bicep curls
1 min run
1 min walk & bicep curls
2 min walk

how about seeing my detailed routines?

This first set is my warm up routine. you will need a stop watch or timer that has a second counter. Personally i have a digital counter i use. it works well as i can see the time from several feet away. to train using this routine is simple it is modeled after the metolius set... with my own tweaking. to complete this routine do each described task at the start of the minute. the time remain is to be used for rest before the next minute. simple enough?...


the next two routines work the same the key difference is to include hard activities. this can easily be altered when you make your own routine. the goal is to be near failure at the end of each step. try timing your hangs on each hold position available on your hang board. then take 80% of each time and apply it to your routine. than test your routine to see how well you can move through it. if you find yourself not working hard enough adjust your times, add additional activities such as pull-ups, knee raises, lock offs or leg lifts. if you find the basic routines to challenging try placing a chair a couple feet behind the board to stand on.


Next are the examples of my heat routines. these have a distinctly different format, the concept is the use of one minute blocks with one min rests. in theory this makes your training more representative of the timing of movement required to do a crux of a route or boulder problem.


here's the way i do them:
second 0 ~start standing under the board.
second 1 ~pull-up on the intended hold.
second 2-5 ~drop to a 90 degree lock off
second 6 ~pull up and drop to the ground
second 7-10 ~rest

there is a thousand different ways to tweak this model to your own requirements. it's all up to you to get creative. if you bouldering i suggest working lock off strength.


to make the exercises harder...
use smaller holds, reduce your rest times add some weight (you can use an old harness and sling to hand weight down your center of gravity... oh and start low), hang with one hand in a worse hold, and alternate hands between hangs so each hand has hung 3 times off a smaller hold and 3 times off a larger hold.

to make excercises easier...
reduce hanging time and increase resting time for each hang. instead of 6sec hang and 4sec rest, try 5&5 (or 7&3 for harder), use a bigger hold, try putting a foot on the wall or chair in front of the hangboard to take some weight off.

in the end it's all up to you. i suggest having a little training log. track how it's going. you will come up with ideas as you progress. youll want to note what was easy day to day. and focus more on those little gaps to make your training more well rounded and focused. as always hope it helps!

Monday, February 7, 2011

if you dont tape your hands... tape your mouth.

all the folks i climb with know i tape. i tape heavily... religiously... some agree with me, some could care less and others still freak out about it. i would say this third group is the most annoying. arguments get made about how taping cheapens the sport. if your one of these people just put the tape over your mouth so we dont have to hear it. climbing is barely a sport. and for those of you constantly making up rules and keeping score? really? stop and come back to simply enjoying climbing. next to that, do you climb barefoot? ...chalkless? ...ropeless? do you tape tendons? ...i cant think of one person who bitches about hand taping that doesnt tape up a tendon. and i've never heard of a redpoint invalidated because of taping an A2 pulley tendon. on a person note, dude i work in the medical field... AIDS, HEP. C, MRSA... they all love a good vector of transmission.

now because i love tape gloves, and im so great at it... people just always ask my preferred method... not really... i just never stopped listening to that positive self talk my mom helped me create!


step 1: i used a little "magic marker" to help you see in the pictures how i do things. so, three perpendicular pieces down the back of your hand. this creates a base layer. i like to slap the tape down onto the back of my hand to get it to settle.


step 2: half strips, depending on your hand size, about 10 inches long. go straight up between the bones of the third and fourth finger. then twist the right a the middle three time. this makes a nice "cord" to wrap the finger.


step 3: wrap around the finger and cross back across the hand to end on the opposite side of the wrist. then repeat the process for the index finger. i dont wrap the middle two fingers... its superfluous.

step 4: the finishing boxer wrap. start at the outer prospect of the hand wrap around the hand over the knuckles, just a little, and come around the palm of the hand. you want this tight but not overly so. spread the fingers as much as you can as you tightly wrap around. your get the hang of it after a few tries.

step 5: make only one complete wrap then come down to the wrist. make two complete revolutions around the wrist. i like to make this pretty tight also. then cross back up over the back of the hand and wrap the palm again making one full revolution and ending in the palm.

step 6: you can see in the picture where i end the tape. i added a black line to show it more clearly. its best to end here because you can now pinch and twist the tape into a cord across the palm as seen in the second picture. this will keep the tape from ever pealing up as you stuff it into never ending feet of beautiful cracks!

step 7: cut the tape off as you see. then if you lay the tape flat you can see that there are the tabs left over. cut those off and you can reuse your tape glove by applying a simple boxer wrap. i usually get about 4 or 5 days out of a good glove. if you try this methods and find it useful... please comment and share with the other readers!